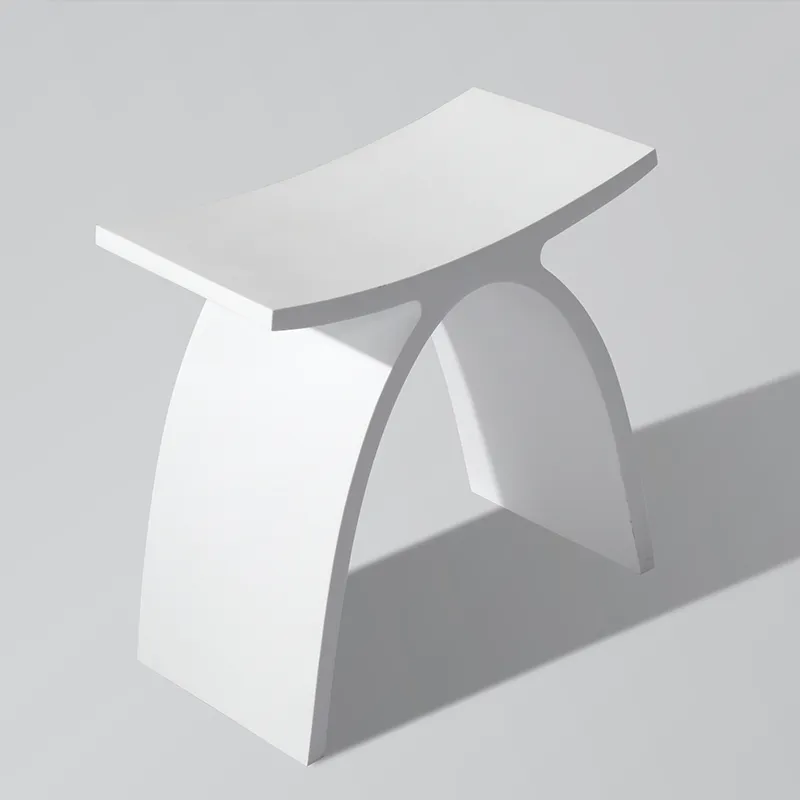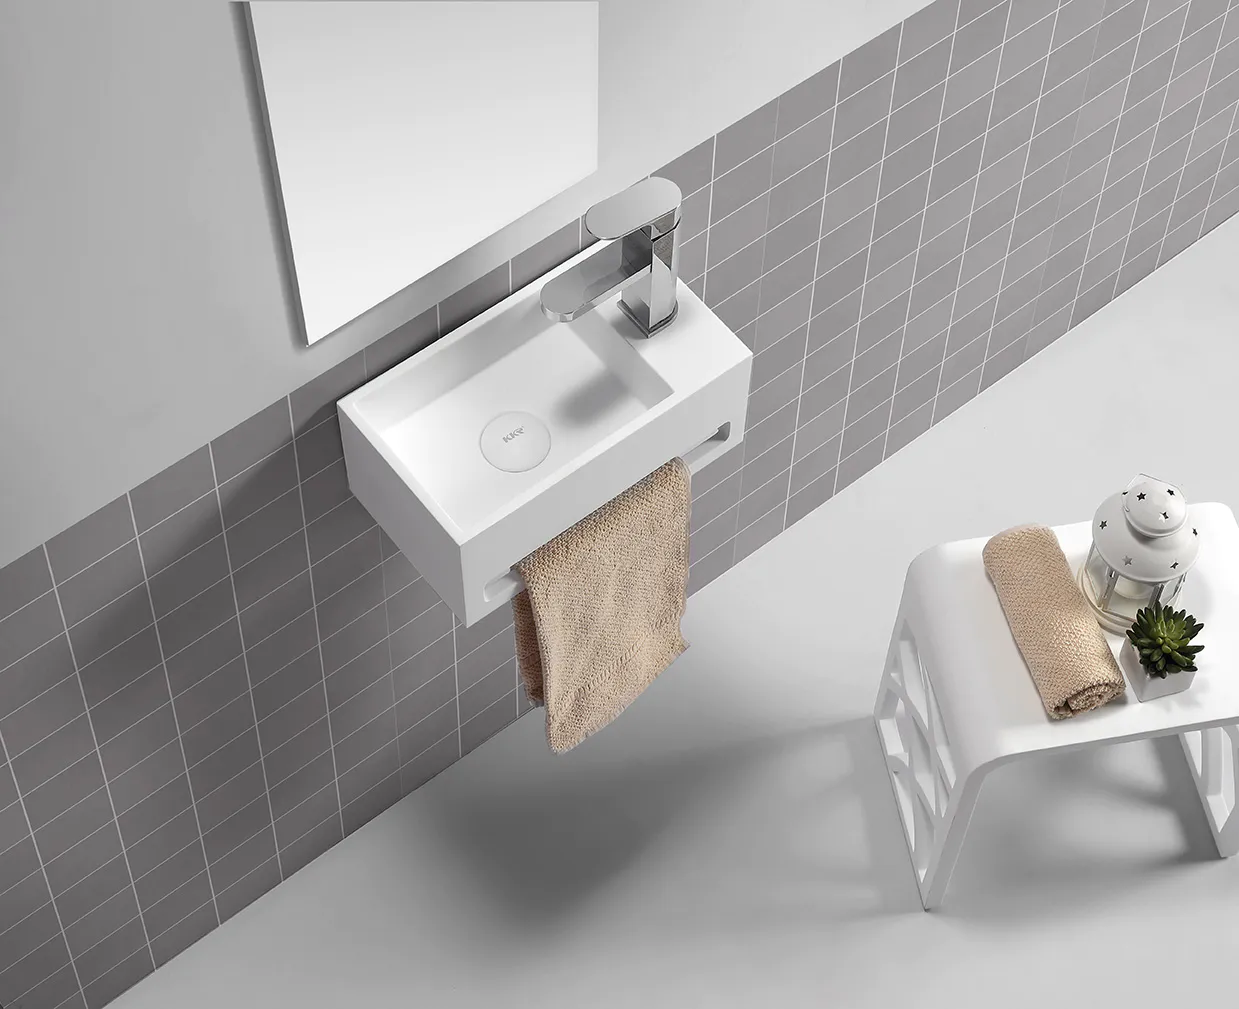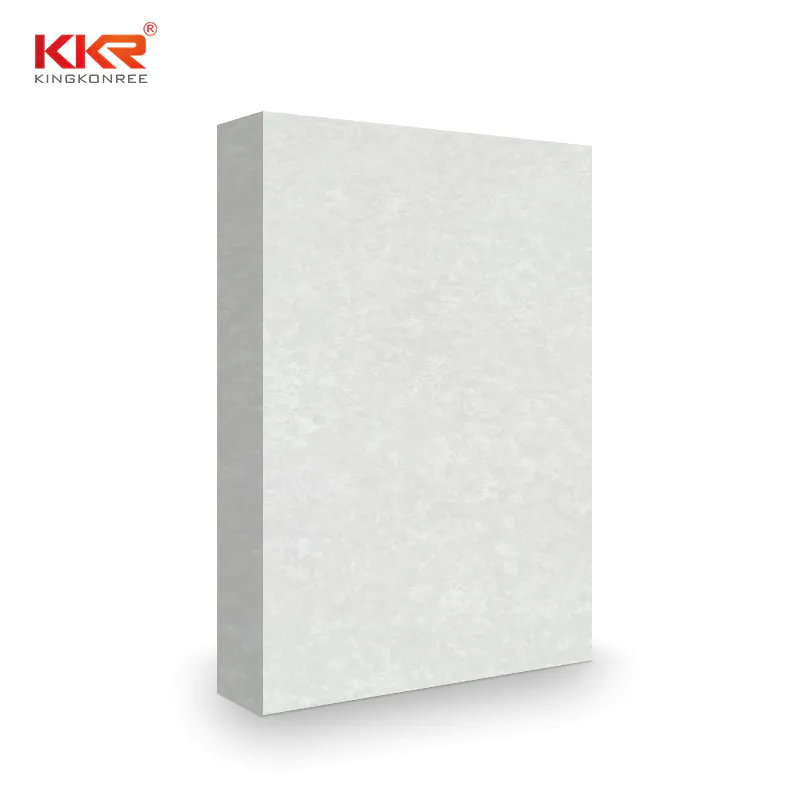

KKR Create Your Own Style Solid Surface Vanity Tops
which is an artificial material that is composed of a combination of top quality material aluminum hydroxide, epoxy, or polyester resins
Someone once said: 'You can have no bathtub in the bathroom, but you can't have a fully functional shower room.' The appearance of the multifunctional shower room is exquisite and modern, and its diversification presents a variety of styles. The shower room quickly conquered people and occupied the main space of the bathroom. So how much do you know about the installation of the multifunctional shower room? Today I will share with you the practical multifunctional shower room installation steps to eliminate your safety hazards. The specific steps are as follows:
1, determine the overall For the installation position of the shower room, adjust the foot screws of the bottom basin, find the level of the bottom basin, and connect the drain pipe; then carry out the bottom basin drain test to check whether there is water leakage. (If you wait for the installation to complete the water test, once a leak is found, the repair will be more complicated) Fix the back plate and shower screen on the back of the bottom basin with stainless steel screws.
2. Assemble the fixing pieces on both sides and fix them with stainless steel screws.
3. Assemble the fixed glass of the front shower screen, and embed the sealing strip in the gap between the glass on both sides and the frame.
4. Hang the movable door, assemble the top cover, and seal the edges with special anti-mold glass glue. Plug in the power source and try the computer section.
5. The 90-degree pure copper elbow and the water supply connection to the wire should be used at the connection of the hot and cold water outlets to avoid the direct connection of the wire to the bent hose and the water supply is not smooth. Try the water supply and check for leaks.
6. Insert the sewer pipe into the sewer pipe, seal the periphery of the sewer with glass glue, and the installation is complete.
ABOUT US

KingKonree is not only a professional China sanitary ware brand, but also a specialist focus on exporting service since it's establishment in 2000. The products we prize is the combination of quality and design.
QUICK LINKS KingKonree Products
COMPANY INFO
Address:Room No. 2408-2508, Building 5A, Longguang Jiuzuan, Longhua District, Shenzhen, China
Zip Code: 518131
Tel: +86 (0)755-82875700
Fax: +86 (0)755-82875921
Email: cherry@kingkonree.com
All rights reserved © 2019 Kingkonree International China Surface Industrial Co., Ltd
Hello, please leave your name and email here before chat online so that we won't miss your message and contact you smoothly.