Wash away the fatigue of the day Bathtub Installation steps
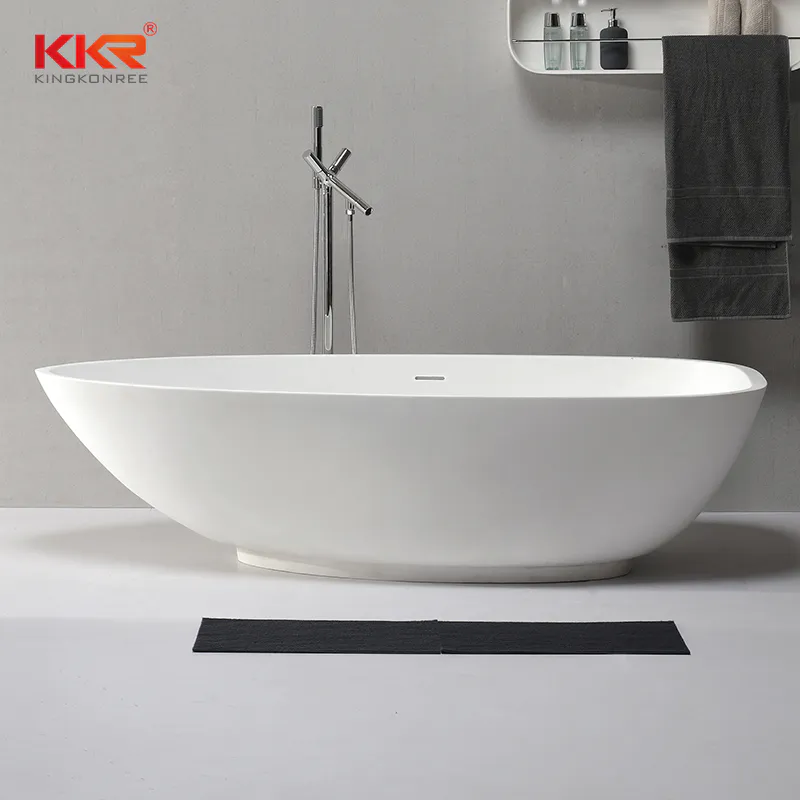
Before you go to sleep, you can soak up a hot bath, which can relieve physical and mental fatigue and help sleep. It is really a beautiful thing in life! The bathtub has this function. The embedded bathtub is loved by its relatively space-saving features. The key to saving space is its installation. How is the built-in bathtub installed? Let's take a look at it!
First, the embedded bathtub installation steps
1. After the pipeline is completed, make up the grooved part for waterproofing, and check the 24-hour water storage to ensure no leakage.
2. Paving the bricks according to the normal procedure and finishing.
3, install the bathtub: use a foam brick to pad the bathtub. The height of the bathtub is generally within 600mm. Connect the water to the water and keep it open. Then use a foam brick to build a wall plaster. Be careful to leave the inspection hole at the corresponding position of the down pipe, about 250x300mm.
4. What materials are used on the table, you can use the same type of wall tiles, mosaic, artificial stone, marble, stainless steel, etc., depending on the style you like.
Second, embedded bathtub installation precautions
1. The low wall around the bathtub or the ribs should have sufficient supporting force, and the surrounding sand should be compacted and compacted; 2. The bottom of the bathtub should not be supported by bricks or other hard objects to avoid damage to the glaze during use; The bottom of the bathtub and the four peripheral corners should be in full contact with the force;
4. Note that the joints of the overflow pipe and the drain pipe are tightly connected;
5. Leave a water inspection port when you apply the tile. In order to look good on the surface, you can use glue to stick the tile on the inspection port, so that it can not be seen from the outside, and it is convenient to remove the tile during maintenance.
6. Install the water fittings before placing the bathtub, and do a 24-hour water shut-off test to see if there is water leakage at each joint.
7. When placing the bathtub, note that the end of the drain is slightly lower than the other end. The outer end is slightly lower than the inner end.
8. The actual size of the bathtub may not be exactly the same as the nominal size. Firstly measure it at the time of purchase and installation, and reserve normal tolerances for easy installation.
9, the lower pipe is preferably slightly inverted s type, this can prevent back odor.
The rise of embedded methods allows the home space to be released to the utmost. Today, the embedded above-ground bathtub gradually enters our lives and becomes the current trend.