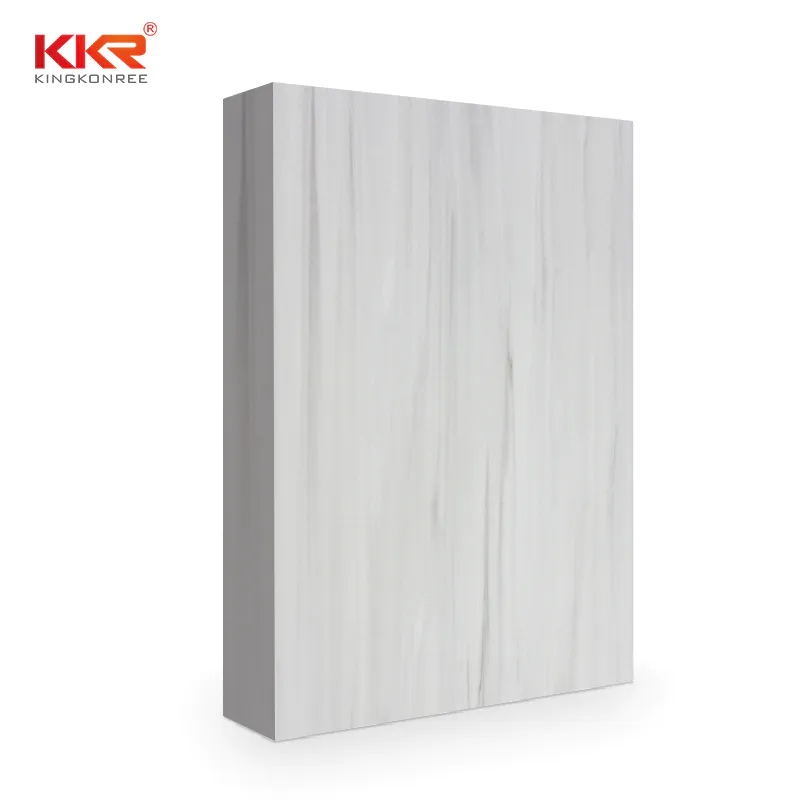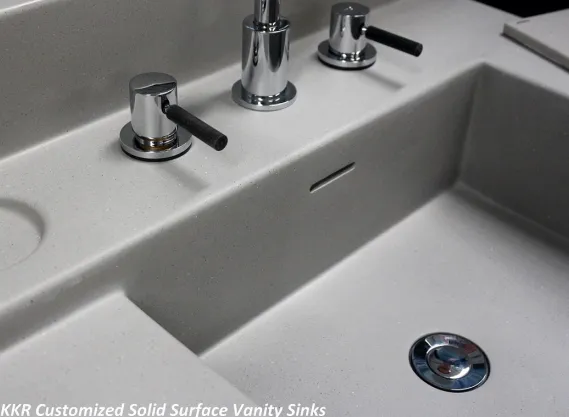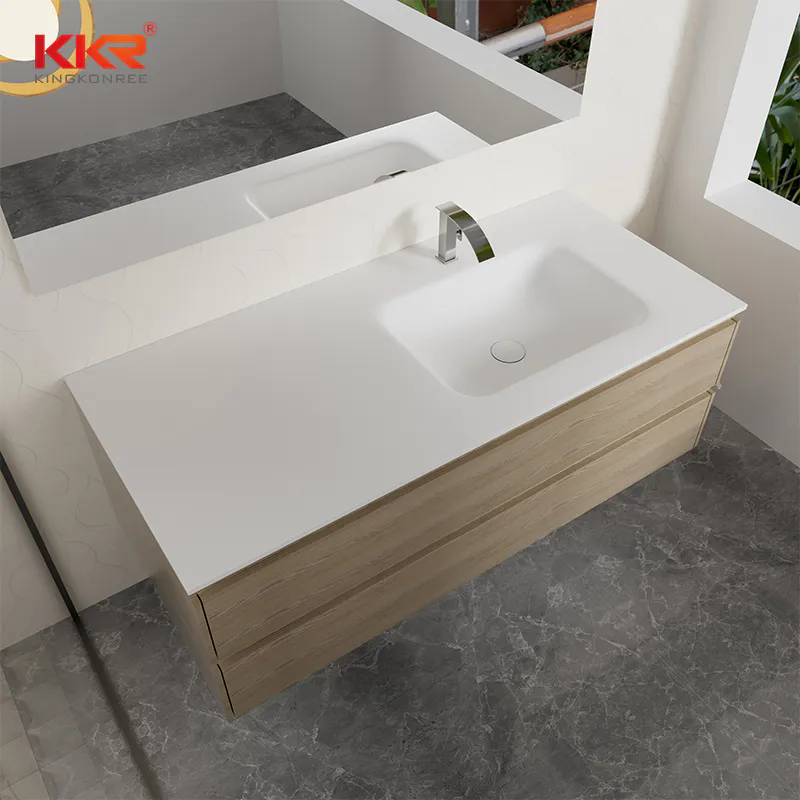

Bathroom Vanity – The Best Cabinet Basins
diy pottery wheel (using treadmill motor)
by:KingKonree
2020-10-25
I started preparing Christmas presents for my 7 year old daughter.
She saw a toy pottery wheel at a local handicraft store and had to have one.
Knowing that these \"toy shop\" units are actually not working properly, I don\'t want to let her down.
Now we have a quality pottery wheel that the whole family can use and enjoy. .
I did some research online and learned that the treadmill motor works very well in supplying power to the pottery wheel.
Most of the motors on the treadmill are DC motors that can run at variable speeds.
After asking if friends and relatives had or knew of any old treadmills, I turned to Craigslist.
I bought a used treadmill for $35.
I\'m sure I can find cheaper, but I\'m in a tight time and can\'t finish the project in time before Christmas.
After bringing the running machine home, the first thing I did was to remove the unit, remove the motor and all the lines and electronics needed to operate the motor.
The speed control knob is on the treadmill console ,(
I bought one of the old treadmills specifically, which uses the rotary knob to adjust the speed, not the button).
Circuit boards and coils are inside the treadmill base (
Called choke in the manual).
I also removed the car breaker used on the treadmill.
Once all the parts were removed, I tested them to make sure everything was still working properly.
The treadmill motor has a pulley/flywheel.
There are several grooves on the pulley to accept the snake belt.
The snake-like belt is more expensive than the traditional v-type and more difficult to buybelt.
I also don\'t want the flywheel part of the pulley, I want the pottery wheel to stop when the power is off, and after the power is cut, the flywheel will allow the wheel to continue spinning.
The pulley is connected to the motor shaft with a left hand threaded thread.
I held the motor shaft with a pair of Vise-
Hold the pliers tightly, rotate the pulley by hand, and turn the pulley clockwise (
Right is not tight in this case).
I use an electric angle grinder to cut the threaded part of the motor shaft ,(
Can be replaced with steel saw).
The remaining motor shaft is just over 5/8 in diameter \".
I bought one with a diameter of 1/2.
The pulley in my local tractor supply store costs $9.
It has a hole of 5/8.
To slide correctly onto the motor shaft, I had to make the hole a little larger.
The fixing screws attached to the pulley fix it on the shaft.
I cut the top surface of the pottery wheel seat from a 3/4 thick old porcelain I rescued from a previous project.
I cut it into triangles and wider at the back of the unit to accommodate tools and water bowls with a narrower front that allows the user to be as close to the wheel head as possible.
To increase the intensity, I built a 2x4 frame around the top surface.
Some of the remaining maple plywood cut out the leftover material.
I first made a small \"model\" to determine how high the sides are, trying to keep the overall height of the unit as low as possible to make it comfortable for my daughter to use, at the same time provide enough space for the motor.
I have the plywood side 2 \"higher than the top surface to prevent the tools and other things from falling off.
I also use the router to round the upper and front edges of the plywood.
Before connecting the sides, I laminated an old Formica to the top and trimmed the edges with a router with Flush trim bits installed.
Initially I purchased 2 sealed ball bearings with flanges and pads to secure the bearings.
The total cost of these projects is more than $60.
I saw another post on the Internet that used the car wheel bearings (hub)assembly.
After some thought and research, I returned the bearing I bought before.
I went to a car parts store and bought a hub.
The 1988 Buick Century was assembled for $35.
This is the cheapest hub assembly I can find, it has a flange mounted on the top surface of the pottery wheel seat.
This hub is especially suitable for almost all GM front wheel drive vehicles manufactured between 1986 and 1989 (
Buick Century, Pontiac 6000, filo, Oldsmobile Colinas Serra, Chevrolet celebrities, etc. )
Make it easy to find and cheap.
Of course I can salvage one from a dump vehicle and save $15, but time is also a factor to have a brand new one (re-manufactured)
The bearings are free of dirt, rust and grease.
The use of the wheel bearing assembly does simplify the installation and support of the wheel head.
I turned a round piece of material on the lathe of 1/4.
I narrowed the diameter of the 2 \"long part of the shaft to about.
900 in the center hole of the hub assembly with close fit (
Where is the car. v. shaft would go).
I narrowed the tip of the shaft a bit to fit closely with the spline part of the hub assembly.
I then cut the shaft into a size of about 4 \"long and drilled a hole at the other end to accept a bolt with a diameter of 1/2 that holds the pulley on it.
Next, I insert the lower end of the shaft into the hub assembly.
Although it fits perfectly, I added several welds to fix it to make sure it doesn\'t slip.
I decided that I wanted the center of my pottery wheel to be on the top surface of the base.
I then place the bearing assembly in that position and trace its shape back to the top.
I cut out the hole of the wheel bearing with a clamp saw.
I used three 7/16 bolts to securely secure the bearing assembly on the top surface.
Looking at other people\'s projects, I\'m sure the main pulley diameter under the wheel head needs to be around 12.
Some people use pulleys with smaller diameters, and sometimes use the original ones on the treadmill.
The pulley in my treadmill is only about 6 \"in diameter.
Some treadmills use motors of up to 1/2 hp.
Since my treadmill has only 1 hp motor, I decided to use a larger pulley to provide a mechanical advantage (
Higher torque for lower rated motors).
I could have ordered a metal pulley from my local supply room for about $35.
I decided to do it myself.
I built the pulley of meisonai and Li (
Solid surface countertop material).
First of all, I cut the \"thick Crean\" with a diameter of 1/2 to 11 laps.
I then cut two 12 \"diameter circles from the 1/4 thick stone.
I cut out the perfect circle with my router table.
I drilled a 1/8 \"hole in the table\" 6 from the edge of the router drill bit \".
Then I drilled a 1/8 hole in the part I wanted to cut.
I inserted a steel pin with a diameter of 1/8 on my workpiece and inserted it into the hole drilled on the router workbench.
Turn on the router and rotate the workpiece around the pin to create a perfect circle. The 1/2\" v-
The belt is actually a little wider than 1/2 \".
To fit the belt, I polished a cone on the inner edge of the masonite disc at the top and bottom.
In order to fix the three parts of the pulley together, I connected the holes and bolts with bolts and nuts with a diameter of 5/16.
* Note on Crean * I use Crean as the center of the pulley for several reasons.
First of all, this is the correct thickness I am looking (1/2\").
Second, it is smooth and uniform in density compared to plywood.
In the end, it is free and looks like a good material.
I got Keli from a local cabinet store that sells and installs solid surface countertops.
I asked them if they had a sink cut.
They took me to the back of the building where they left many pieces. . . JACKPOT. .
Instead of throwing them into the bin, they left them for people to salvage.
I also found a 3/4 thick part for my wheel head.
In order to connect the pulley to the spindle, I used a Circle of 6 \"diameter and I cut it out of a piece of soft steel 1/8 thick.
It is fixed on the pulley along with the four 5/16 bolts mentioned in the last step.
I then used a 1/2 Bolt to install the pulley to the spindle by mounting the hole drilled in the center of the plate, which was drilled earlier.
In determining the length of the spindle, I tried to keep the pulley at 1-
1/2 \"under the table.
It\'s time to install the motor.
Sometimes, the original motor holder/Belt tensioning device can be reused from the treadmill.
I don\'t have anything to use on my treadmill.
There is indeed a mounting bracket on the motor, there are two flanges on the bracket and two holes on each flange.
On a flange, I bolted one side of a 4 \"heavy door hinge.
The other side of the hinge was screwed into a piece of wood that I installed on the inner wall of the base.
The second flange drilled a slender hole with a diameter of 3/4 in its center.
I made a jack screw with 5 5/8 screw bars.
It runs through a slender hole and extends down to a piece of steel plate, which is welded to a piece of steel plate and fixed to the wooden block mentioned above.
A slot and a drilling hole are processed in the block for bolt connection of the threaded rod.
As the belt tension changes, the screw bar can be turned to adjust the angle of the motor flange.
Add two 5/8 nuts and washers to the screw bar.
One under the flange and one above the flange.
Either way, the lower nut can be turned to adjust the belt tension.
Then tighten the upper nut and lock the adjustment in place.
I used 1/2 v.
48 \"long belt.
I made my wheel head with a 3/4 thick piece of Kelian.
I cut it in diameter 11 \".
Then I listed the bolt pattern for the bearing assembly.
I drilled 5 holes for the mounting bolt and sank my head.
I cut out the center of the wheel and let it fit correctly on the wheel bearing.
I also have to shorten the length of the mounting bolts that come with the bearing assembly.
For the first time, I purchased the rice nut that met the bolts.
I then cut the bolt into length with a angle grinder and leave the nut on the Bolt until the bolt is cut.
Removing the nut after cutting helps to remove burrs on the thread just cut.
I also drilled 2, 1/4 \"-
20 holes, which contain socket cap screws, are used as pins for fixing ceramic rods.
I had to do a little search to find the right container for the splash pan around the wheel.
It\'s not that it\'s hard to find a container.
I ended up using 14 oil drain pans from the auto parts store.
They are $3 each.
I used two pots for splashpers.
I hope it has two pieces that can be easily disassembled and cleaned.
I cut the pan easily with a pair of tin knives.
Cutting them also allows me to discard the part of the pot with the pouring mouth.
They are cut in some way, and the bottom of such one overlaps about 3 \"with the other \".
The oil pan works fine, and if you mess one up, it only costs $3 for the other.
I installed the circuit board and choke module from the treadmill on the lower side of the pottery wheel seat.
I think it would be a good idea to have the pottery wheel protected by a ground fault circuit, just in case, because water is involved.
The easiest way I can think of is to use a GFCI socket, as you will find in the bathroom or kitchen.
I installed it in a \"old work\" style electric box that is well attached to the side of the plywood base.
I used the original power cord on the treadmill.
I plug the power cord into the GFCI socket.
I then run the power cord from the GFCI socket, one connected to the AC input on the board and the other connected to my on/off switch and then back to the board.
A 15 am p circuit breaker was also installed on the treadmill.
I think it\'s also a good idea to use this.
I drilled a hole in the side of the GFCI container box, installed the circuit breaker and connected it to the power circuit.
I also installed a double sided \"old work\" electric box on the side of the plywood base.
The box contains an on/off switch, a speed control dial, and a light indicating when to turn the power on.
I used a double sided switch board and cut one side of it using the dremel tool to hold the speed control knob.
I fixed the knob in place with some \"shoe stick\" silicone sealant.
I added a thin plywood panel to the lower side of the pottery wheel.
It covers the main pulley and prevents anything in contact with the rotating pulley and belt.
I also brushed 4 layers of clear varnish on the side of the plywood base.
The last thing I did was cut out a couple of Corian bats.
I drilled the lower side of the bat to accept the positioning pin on the wheel head.
When you work with the célian bats, be sure to polish the edges after you cut them.
When Christmas came, Tao wheelset was a big blow to my daughter.
She tried that morning and the wheels were working very well.
I centered the clay for her and she took it from there.
When the pottery wheel is turned on, there is a delay of about 10 seconds before the motor starts. .
It also starts slowly and then rises to the desired speed.
This is because of the treadmill speed control circuit, it is important to turn it off when the power switch is used.
Even if the wheel speed dial is turned to the off position, a small amount of current continues to flow to the motor, which may be damaged if it remains open.
That\'s why I installed an indicator light to remind the user that the power is still on.
I plan to roll out some kind of \"hands-free\" wheel speed adjustment pedal.
Thank you for reading my instructions and I hope this will inspire others to create something cool.
Look forward to your questions and comments.
Custom message
Related Products